In this article, I will highlight an open-source tool that you can use to fully automate your patch management. The tool is called AWX, and it utilizes the Ansible framework.
Ansible is an open-source automation tool used for IT tasks such as patching, configuration management, software updates, etc. It is the bread & butter, swiss army knife that every DevOps user should have in their IT arsenal!
The AWX project provides a web-based user interface and task engine built on top of Ansible. GitHub hosts the AWX project, and you can find the installation instructions in the following link. https://github.com/ansible/awx/blob/devel/INSTALL.md
Accessing the GUI
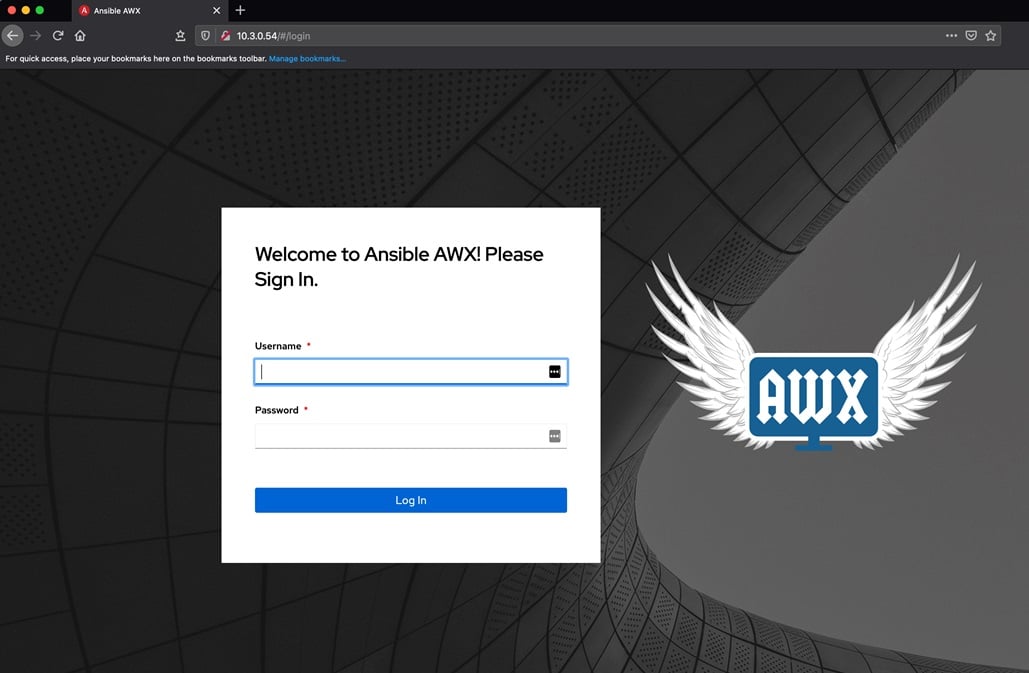
Once AWX setup is complete, you can access the GUI (Graphical User Interface) using the IP address you set for it. I have my AWX instance running on an Ubuntu VM, but you can install it on a Windows VM as well. The default username will be “admin”, and the password will be “password”.
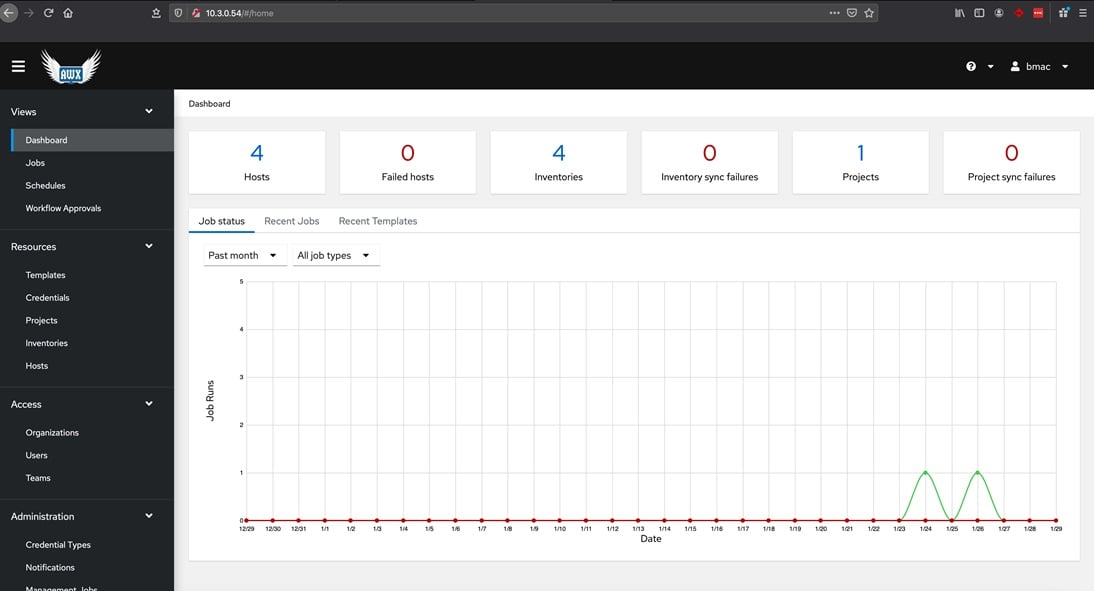
User friendly UI
Navigating through the UI is pretty straightforward. The main dashboard view summarizes your hosts and jobs that have run (I will go into more detail later).
Now I’m going to give an example of how you can setup your first project and patch a host using AWX!
First, there are a couple steps we need to do:
1. Create an organization: In this step, locate the “Organizations” tab and create an organization.
2. Create an inventory: In this step, you will create your inventory. Give it a name, description, and link your organization you just created.
3. Add hosts: In this step, you will add hosts inside your inventory. Make sure your hosts are within the same network of your Ansible!
4. Add credentials: In this step, you will create credentials to access each host. It is recommended to create one set of credentials that can authenticate to every host; this will make things more uniform.
5. Creating a project: Once you’ve arrived at this step, you are finally ready to create your first project! Creating a project is fairly simple; you just give it a name, description, and organization. The most important part is the Project Base Path and Playbook directory. You need to make sure these are in the proper areas. If not, you may need to access the Ansible server’s CLI and make the changes.

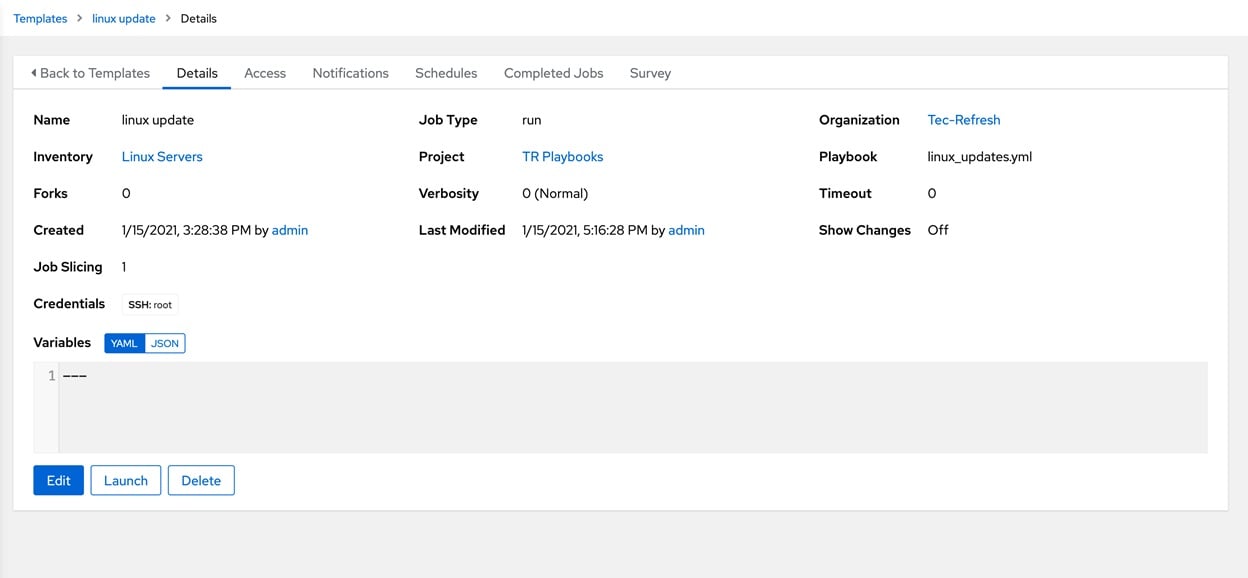
6. Creating a template: Templates are essentially your tasks that will be run. Typically, you will have multiple templates for the different types of systems you need to patch. In this case, I’m creating a Linux update task.
You will need to supply your playbooks with a .yml file. These files are the scripts that Ansible will run to automate your tasks. You can find several .yml files on GitHub, and of course, Google.

As you can see, I have all of my .yml files stored in my “custom” directory on my Ansible server.
Just to give you an idea of what a .yml file looks like:
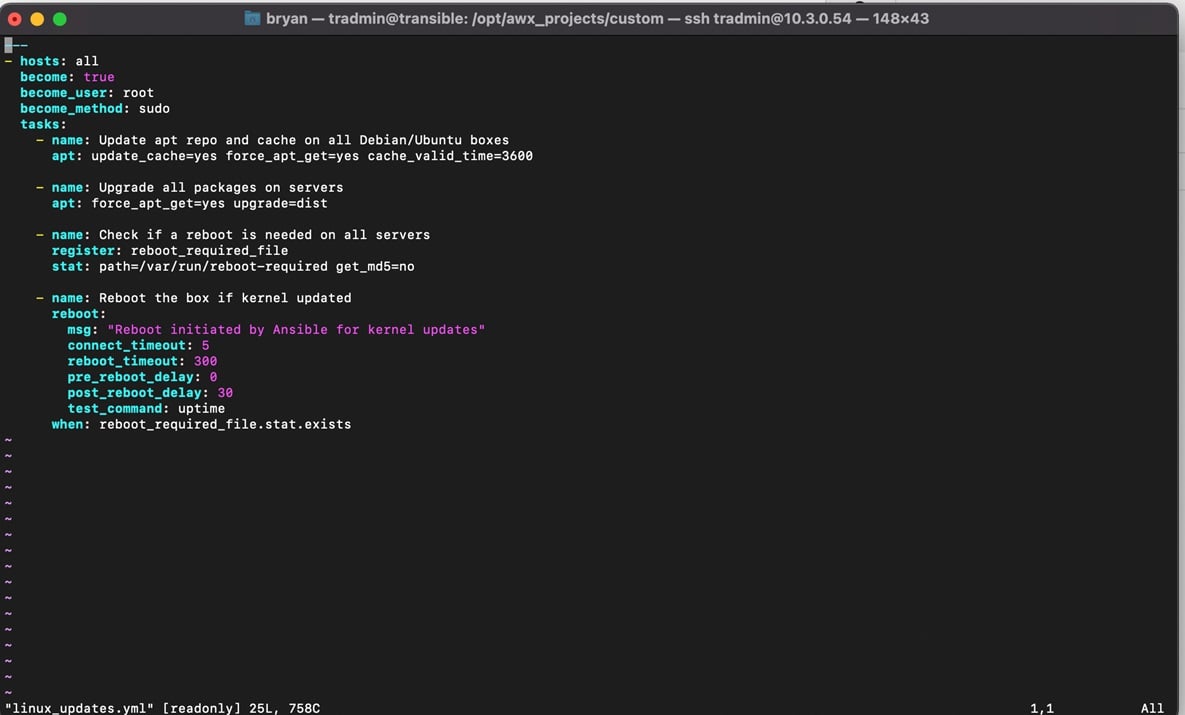
This script will tell Ansible to become sudoed on my Linux box and essentially do an apt-get update and apt-get upgrade.
7. Running a task: In this step, I’ll show you a task being executed. To run a job, you need to go to “Templates” and hit the “Launch Template” button on the right to launch it.
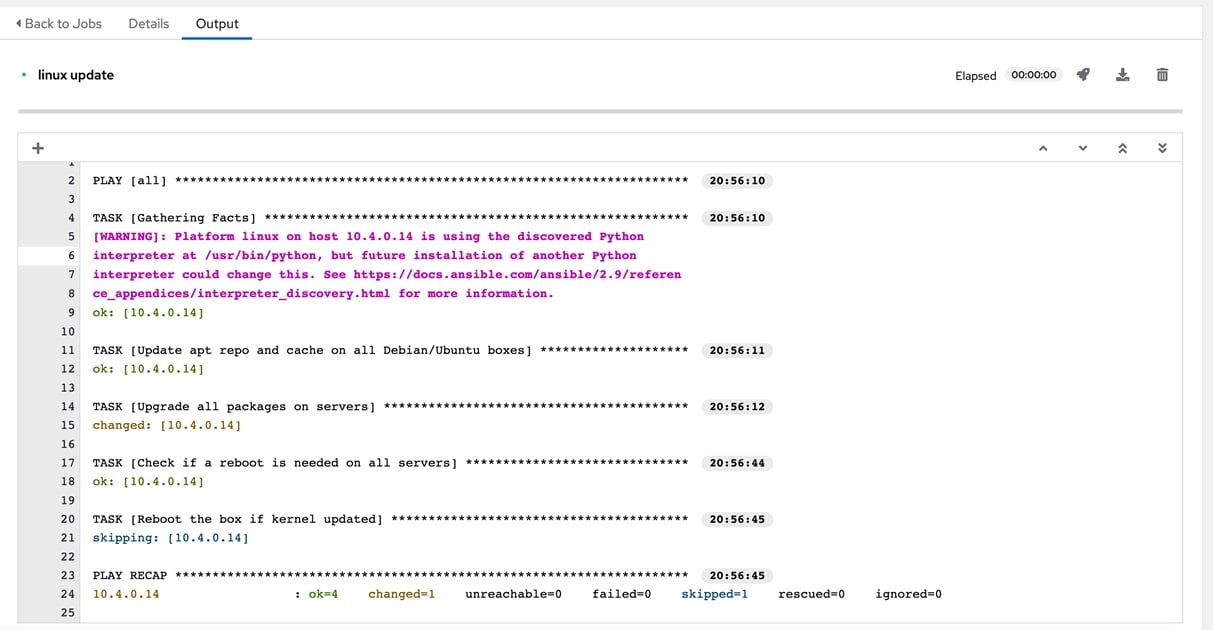
Voila! You will go ahead and start to see the playbook run and the output of the results. Sometimes the script will not always run successfully, and you may need to iron out some kinks. However, once you get it properly configured, you will not have to manually update these boxes again.
I hope you found this useful and thank you for reading. Stay tuned for more content!
As a Managed Service Provider (MSP) and Managed Security Services Provider (MSSP), we manage your IT services, offer backup and disaster recovery, and provide network visibility and security. Our knowledgeable and customer-oriented staff engages to accelerate your network and simplify its security, visibility and automation.
Questions? Contact Tec-Refresh, Inc.